Hello everybody!
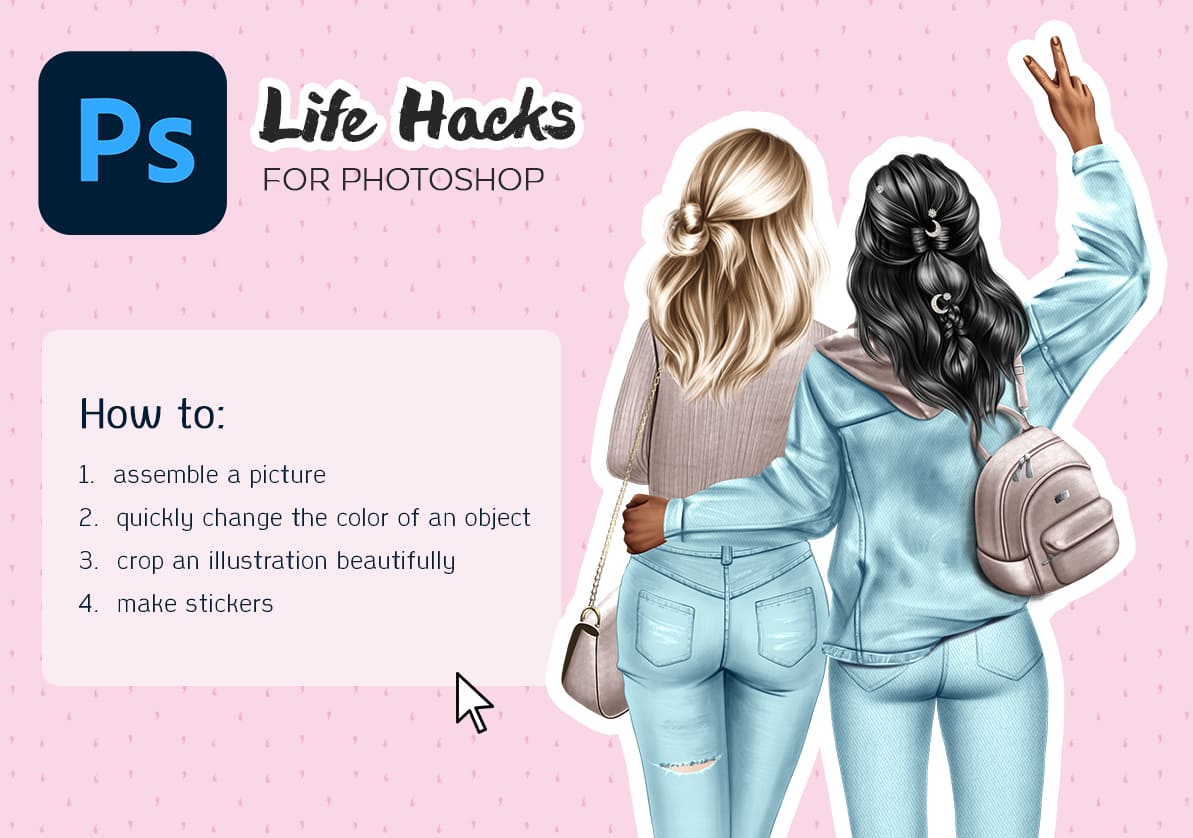
Finally, I made a series of videos for you about working in Adobe Photoshop. I apologize in advance for the crooked installation, this is new to me, so do not judge strictly.
So the first 6-minute video is about how to collect illustrations in Adobe Photoshop and how to use smart objects. I promise you you will love smart objects when you try them.
I left little hints in the video to make it clearer to you, and I will also describe my actions in this article for those who like to read.
The work took place in Adobe Photoshop 2022. If you have a version of the program lower than CS2, then the function of smart objects may not be available to you, it appeared only in Adobe Photoshop CS2
How to assemble illustration
1.So the first step is to open the program of course
2.Then find the topmost menu and click “File” – > “New”.
You can immediately set the parameters of the document and its dimensions, or you can do as I do and adjust the size of the document using the “crop tool”.
3.If all your files are placed on the sheet as smart objects, you can skip this step, and if not, then you need to enable this feature in the settings.
Go to “Edit” – > “Preferences” -> “General”.
In the very first tab of the window that appears, there should be a check mark next to the item “Always Create Smart Objects when Placing”.
Ok now all placed files will be smart objects.
4.Now just drag the files to the workspace and in the right part where you have layers, change the order of the layers to assemble the illustration correctly. For example, clothes always go a layer higher than the body, etc.
5.After the illustration is fully assembled, you can easily change the colors of clothes or hair. (Attention! Since the hair can be of different sizes and shapes, they may not be positioned correctly when replaced, so you will have to adjust the position of the hairstyle manually)
To change, for example, the color of the jacket, you need to right-click on the layers panel on the layer with the jacket and select “replace contents” from the drop-down menu
Then you will have your file explorer open, find the folder with the set of illustrations that you are collecting and choose a jacket of a different color.
It’s simple if you get used to it a little.
Thus , you will need to collect the illustration only 1 time and save it as .PSD file. If you work with custom orders, this is very convenient. You just open .PSD file and replace the colors of the clothes at the request of the client to create a ready-made poster or postcard.
I hope this will make someone’s life easier 🙂
How to create stickers
I know many other easier ways to create stickers, however, this method may be useful to someone, so I’ll just leave it here
The point is that if the shape of the illustration does not change, then you can simply replace clothes and hair color and you will not have to make a vector path again.
1.First, we need to convert the composition into a smart object to be able to edit it in the future.
Therefore, right-click on the group with your illustration and select “convert to smart object”.
2.Right-click on smart object and choose duplicate. This will be our layer with a white base to create a vector path.
3.Right-click on the lower smart object and go to “blending options”. Check the box next to the “Stroke”, position: Outside. Choose a color and size. You can adjust the stroke size. The larger the size, the smoother and simpler the vector path will be in the future. I put a small stroke to show the problems that may arise and how to solve them.
4.When I was recording this video, I forgot to do it right away, but you can immediately turn on the “color overlay” item so as not to come back here again.
5.If the outline suits you. Right-click on your smart object and select “rasterize layer” and “rasterize layer style”. This way your outline will become a picture that can be edited.
6.OK now we have a raster layer for the future vector path. I specially took this set of illustrations to show you possible problems. The fact is that raster illustrations that are drawn manually may contain translucent pixels invisible to the eye, but when you turn on the stroke, she sees them. So you get weird white circles next to the girl’s feet. In places where the shadow outline also becomes uneven and ugly and now we will fix it.
7.In this example, I just erased the white circles with an eraser. But I still don’t like the contour of the shoes. So I’ll take the “pen tool” to draw a beautiful outline in those places where the outline does not look very good. Then hold down the ctrl button and left-click on the contour layer. Thus, you will highlight it. Then just press DEL on the keyboard and the extra part will be erased.
8. If you are satisfied with the contour, hold down the ctrl key and click on the layer of the future vector path. Now just take any selection tool on the toolbar and right-click on the selected area.
Select “Make Work Path”.
You have received a vector path that can be edited, uploaded to illustrator, corel and other vector editors.You can save this path as SVG or just use ctrl+c to copy and ctrl+v in illustrator to paste.
Different vector editors have different plugins to simplify the path and reduce the number of nodes.
But perhaps this method will be useful to someone 🙂
Another video will be released soon, I’ll show you how to crop an illustration beautifully.
Have a good day!😘


