


Today I will tell you how to create collages from DIY Cliparts in Adobe Photoshop.
I will use Adobe Photoshop CS5, as not everyone has the latest versions of Adobe Photoshop and some features from the new editors may not be available to owners of older versions. Therefore, I will use the basic tools that are available in all versions starting from CS5.
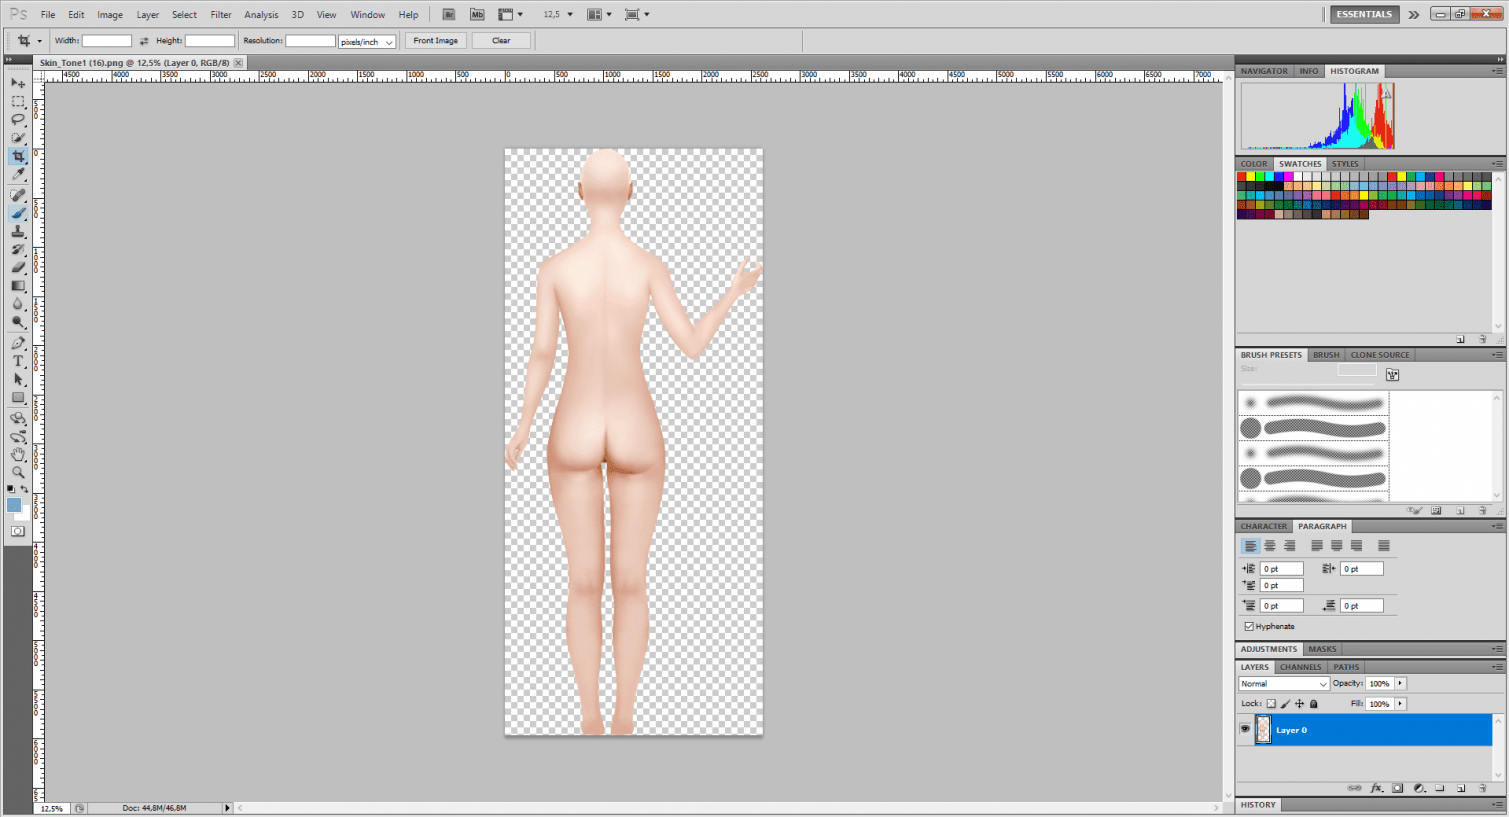
Step 1
Run the program and open the file. I usually start with the body. Now I will create bridesmaids from this set.
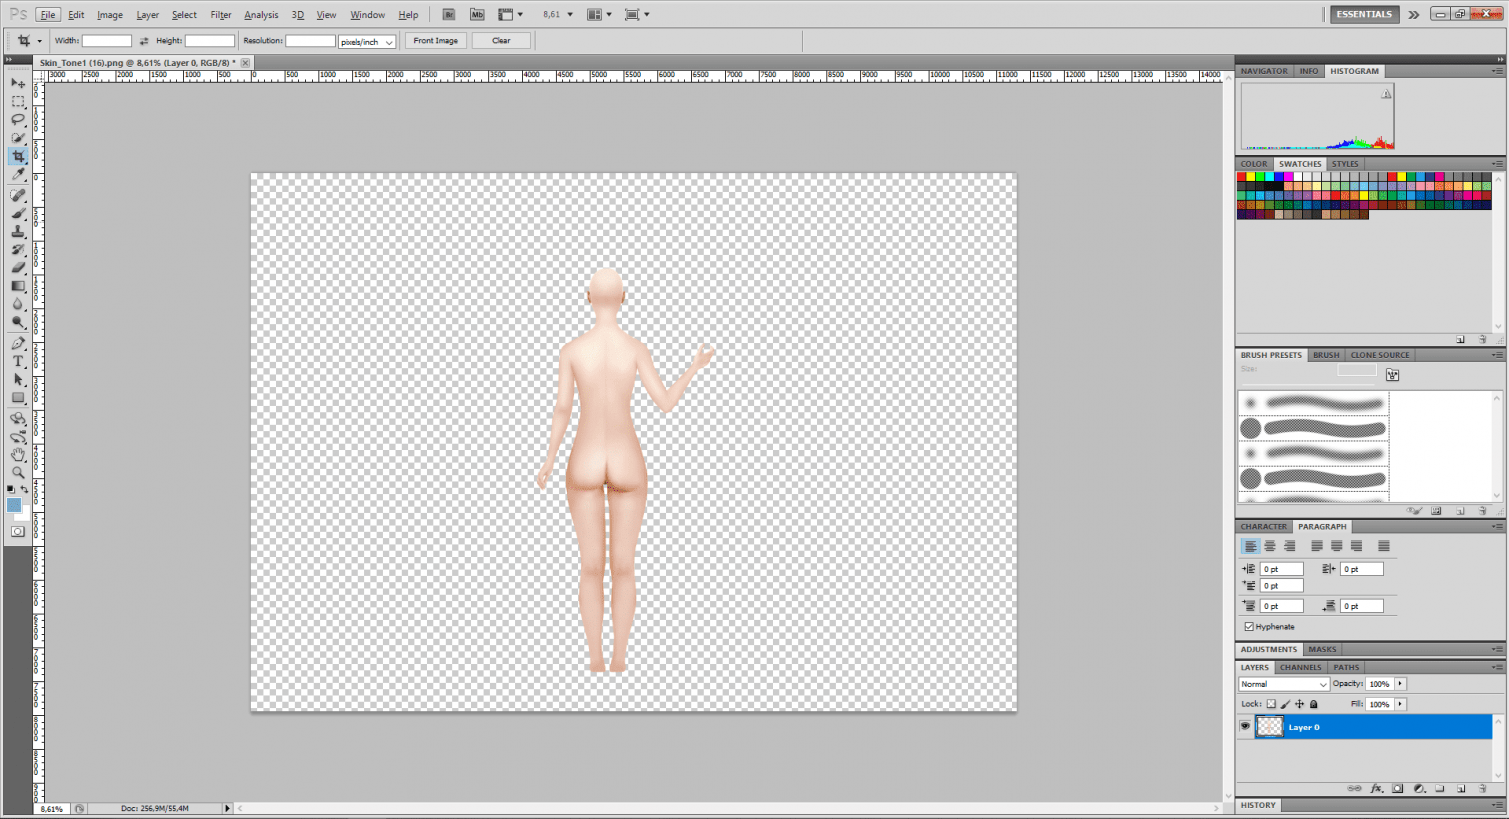
Step 2
Select the Crop Tool, left-click on the image and stretch the canvas borders in different directions so that your document becomes larger.
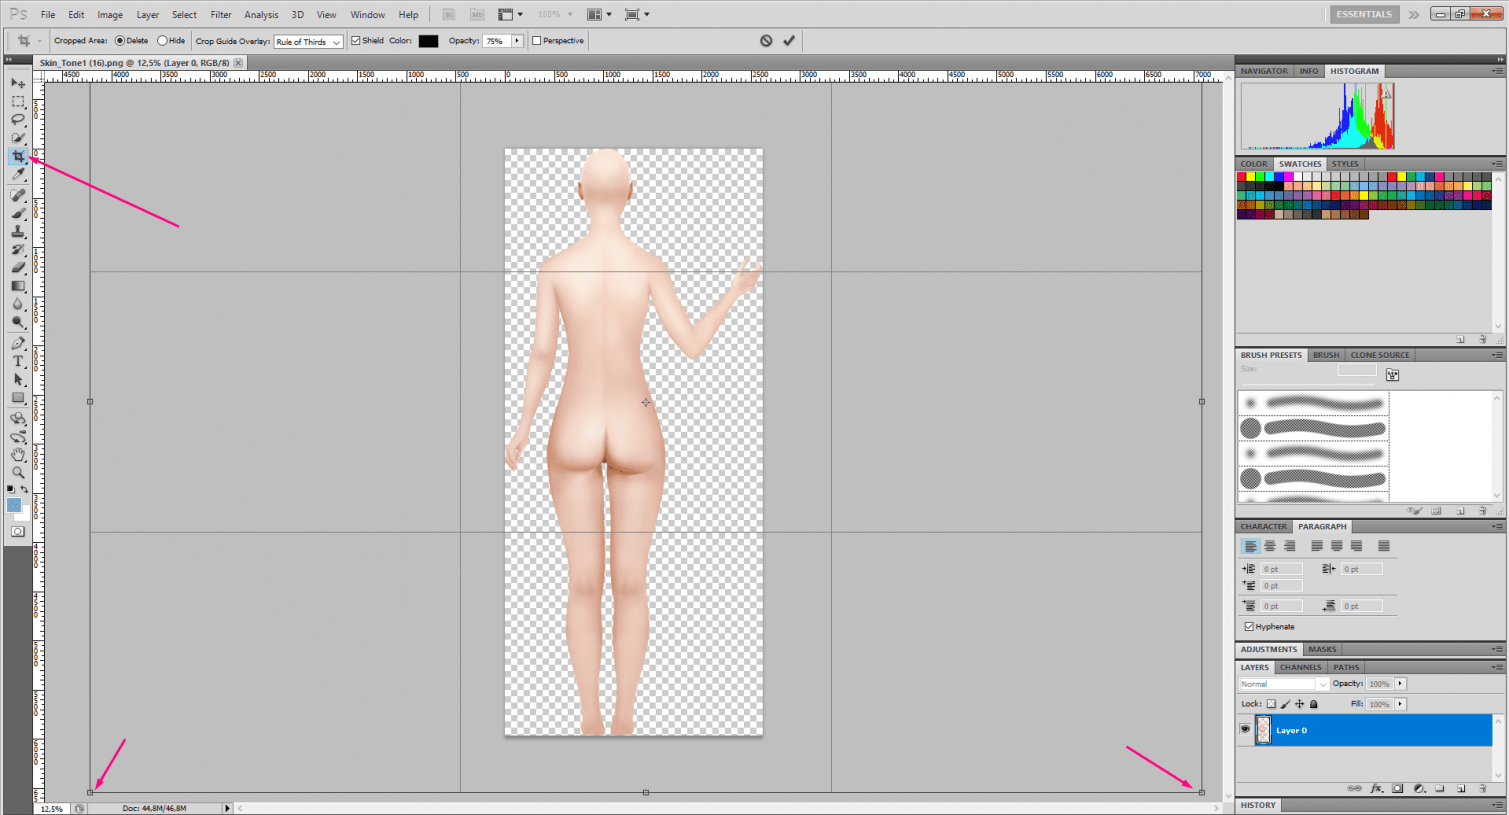
Here’s what we got
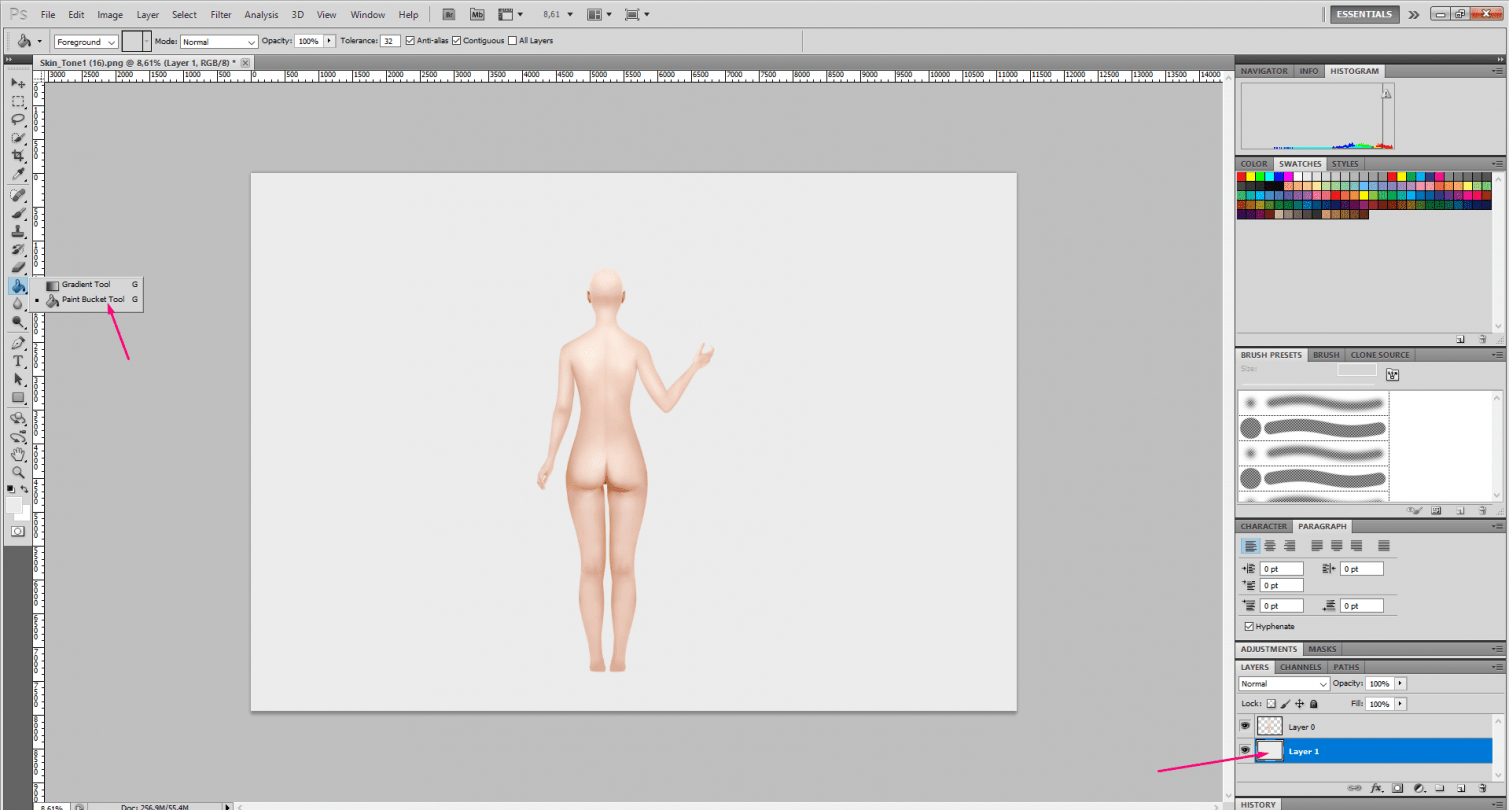
Step 3
Create a new layer and place it below the layer with the body. Then select the Paint Bucket Tool and fill the background with any neutral color. This is necessary to make it easier for you to work with the composition.
Step 4
Now I select the layer with the body again to make it active (just click on the layer name). And then I put the dressing Gown file on top of the girl.
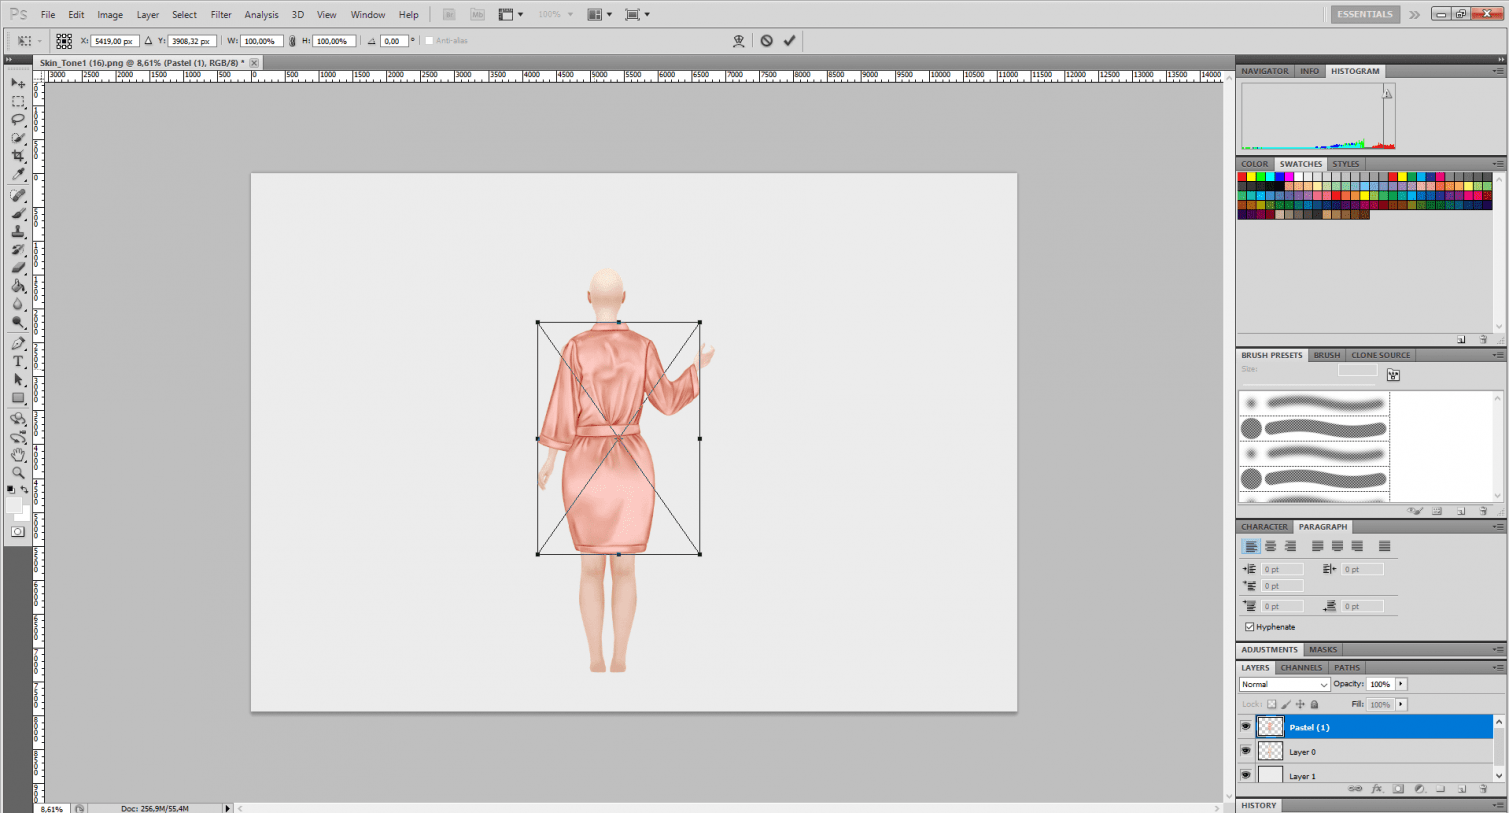
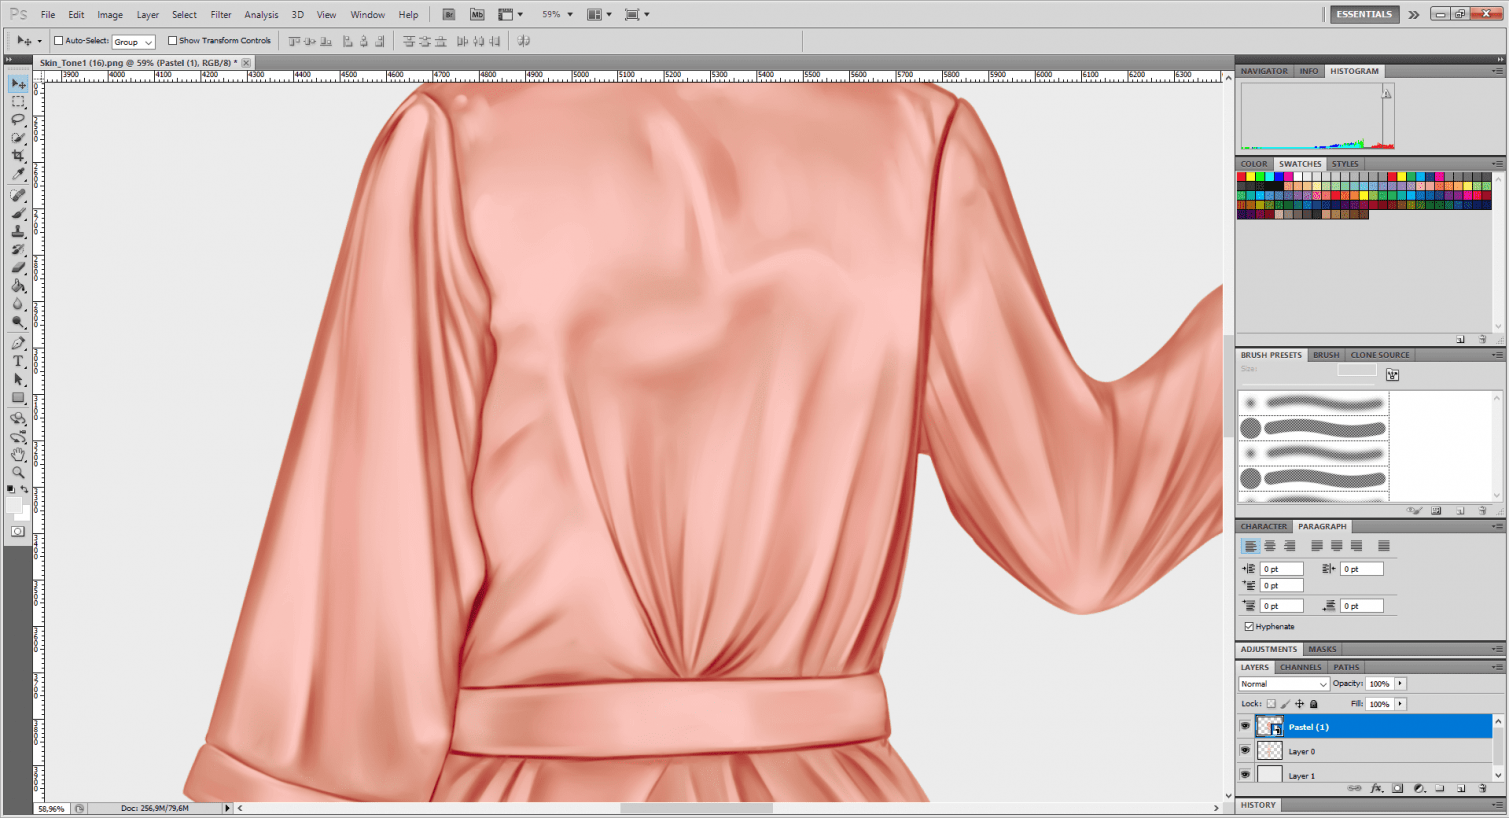
Then I zoom in to see if the contours match. To zoom in, you can turn on window->Navigator or just hold alt on your keyboard and turn the mouse wheel.
Step 5
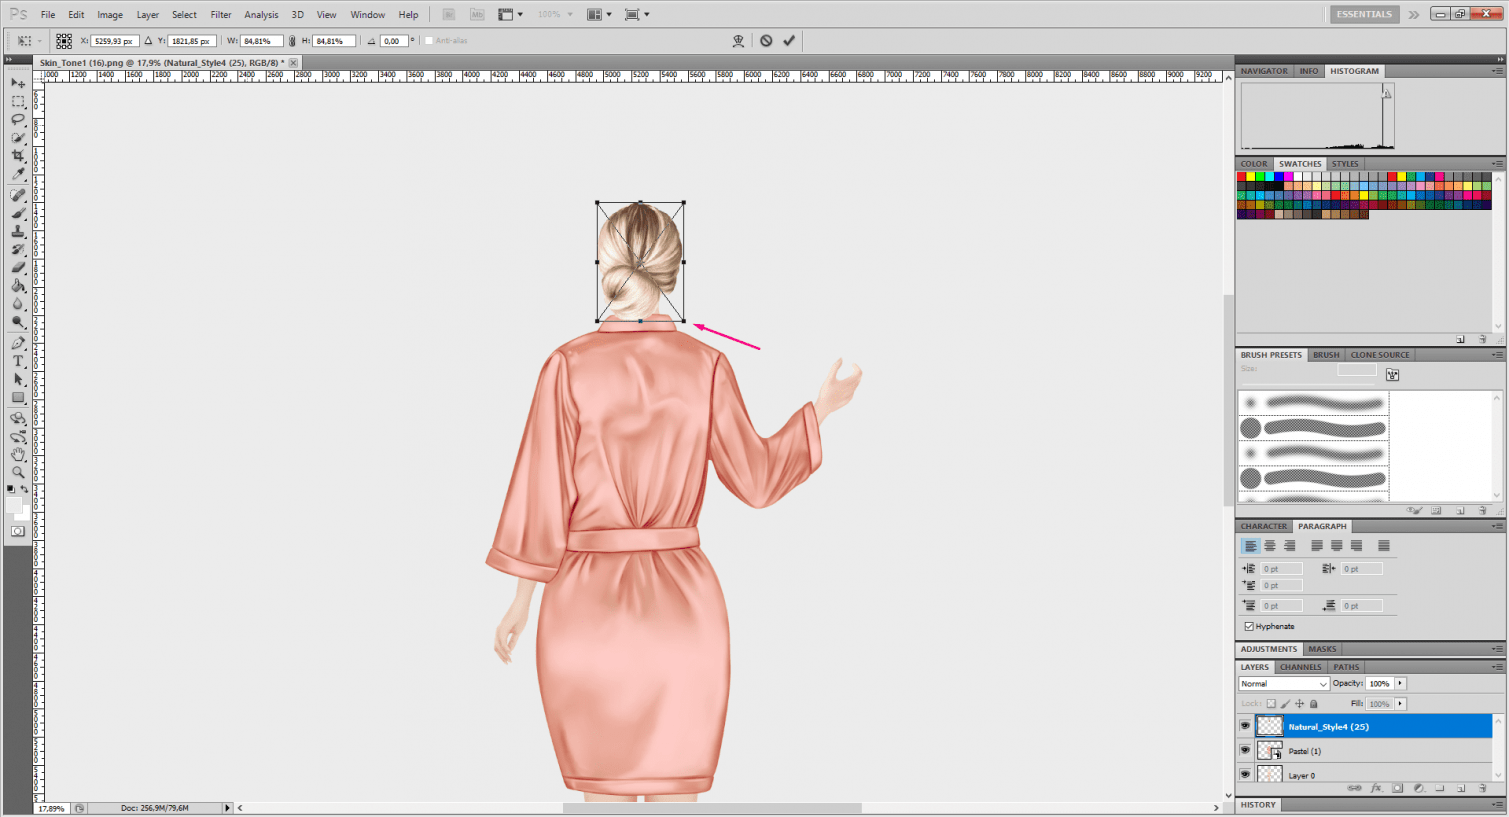
I do the same with all the other elements, such as hair, cocktail, shoes, and print.
When you place an object you can reduce it by simply pulling on the corners. To save the aspect ratio, just hold down the shift key, then your image will increase and decrease while maintaining the aspect ratio.
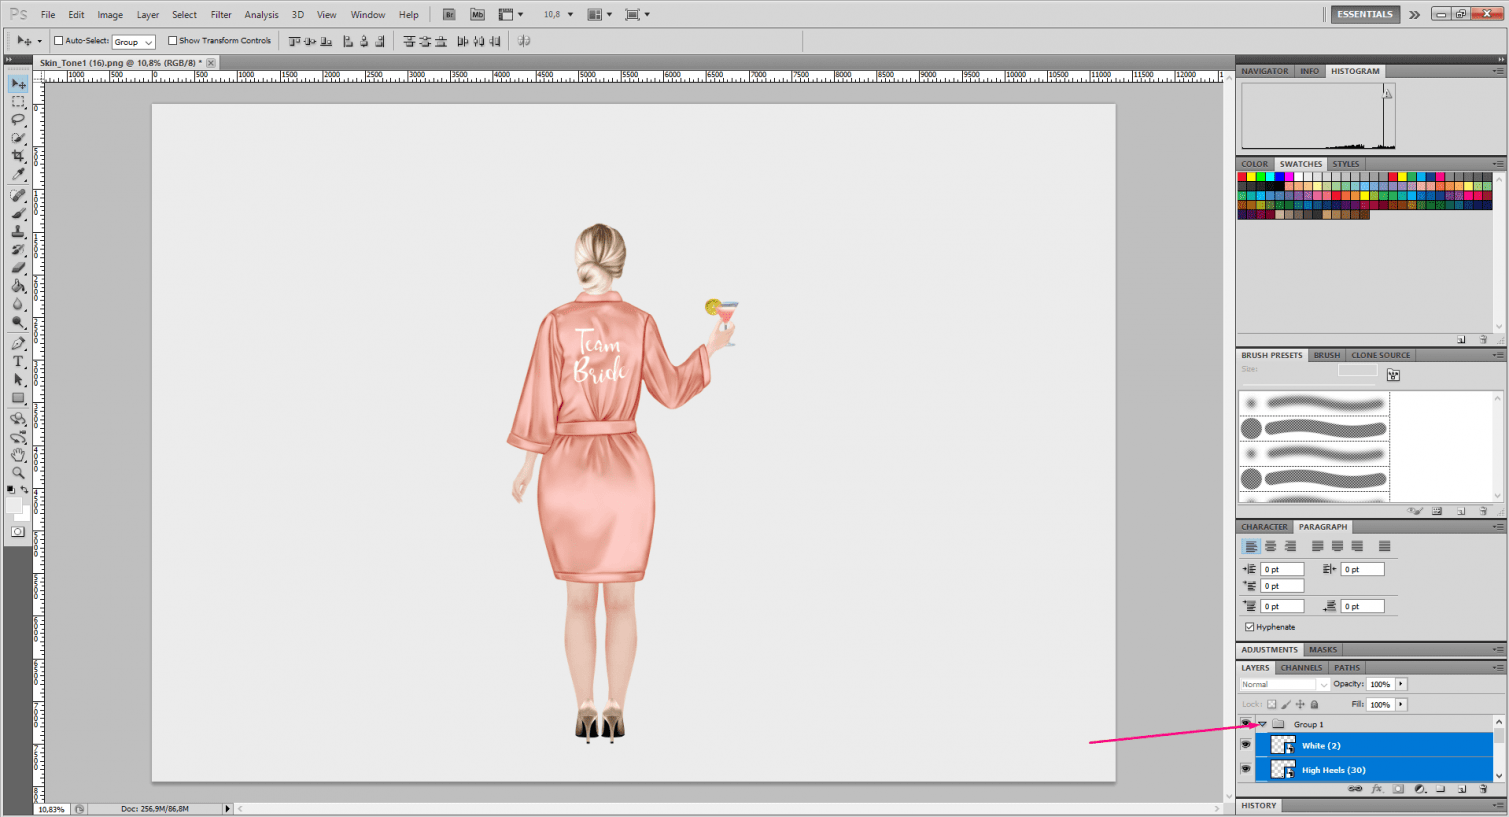
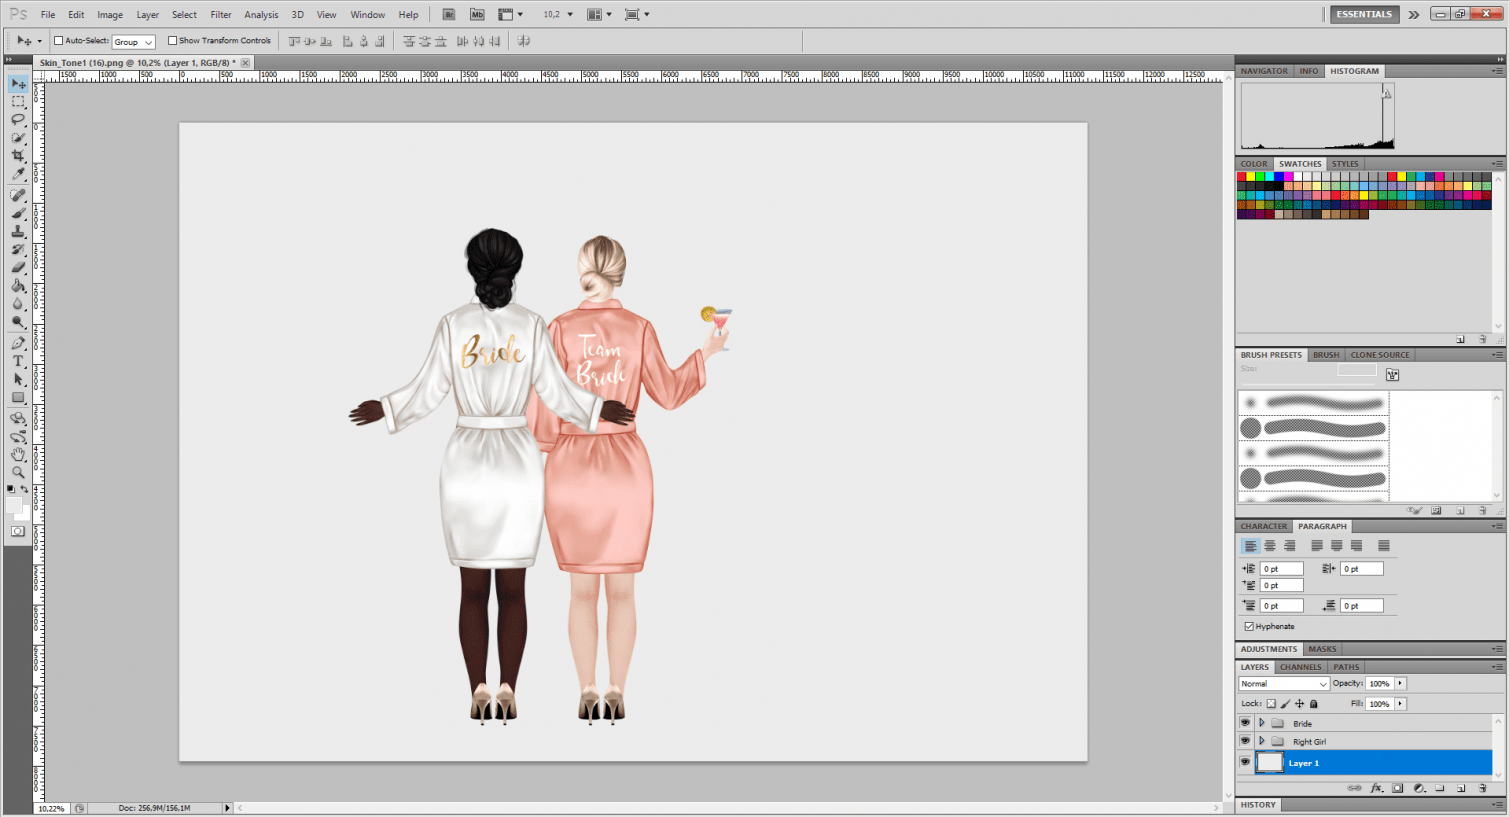
When I finish working on the girl, I create a group in the layers panel and drag all the layers into the group. This is necessary in order to make it easier to move the entire girl in the future and not get entangled in layers.
Step 6
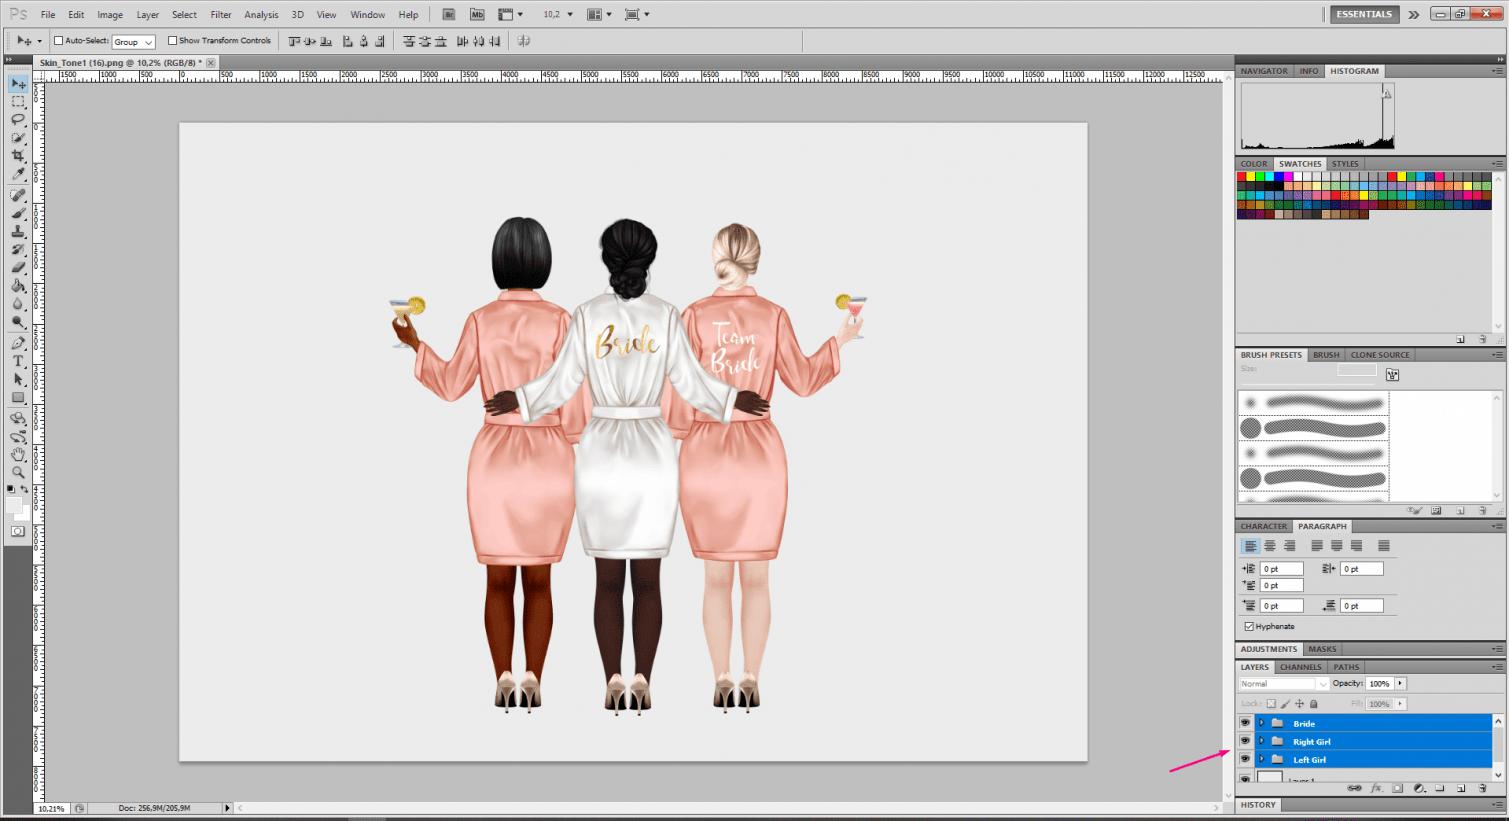
Put the files in the document to create another girl. And so on until everything you need is in place.
Here’s what I got
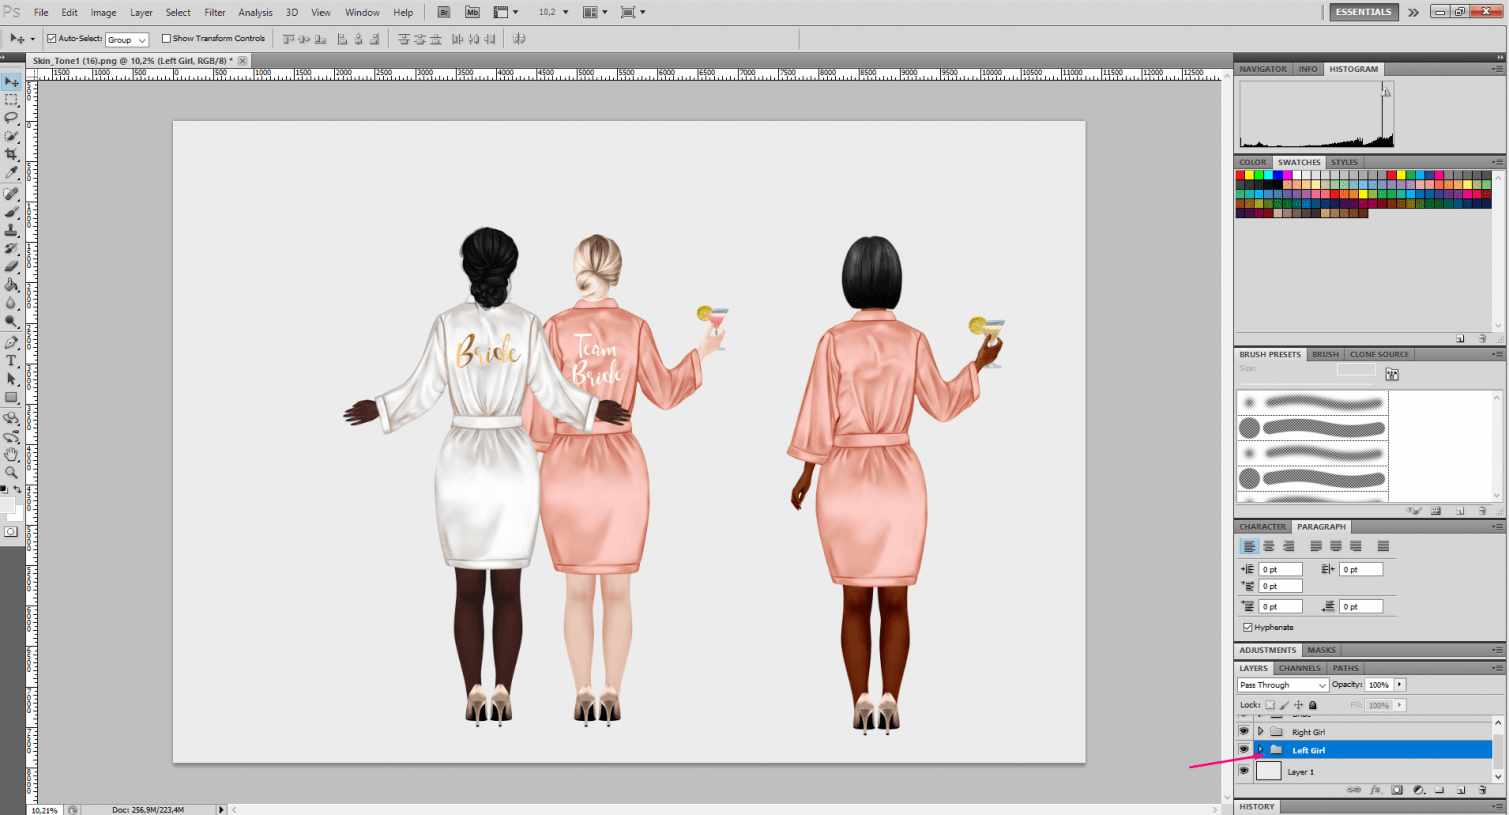
Step 7
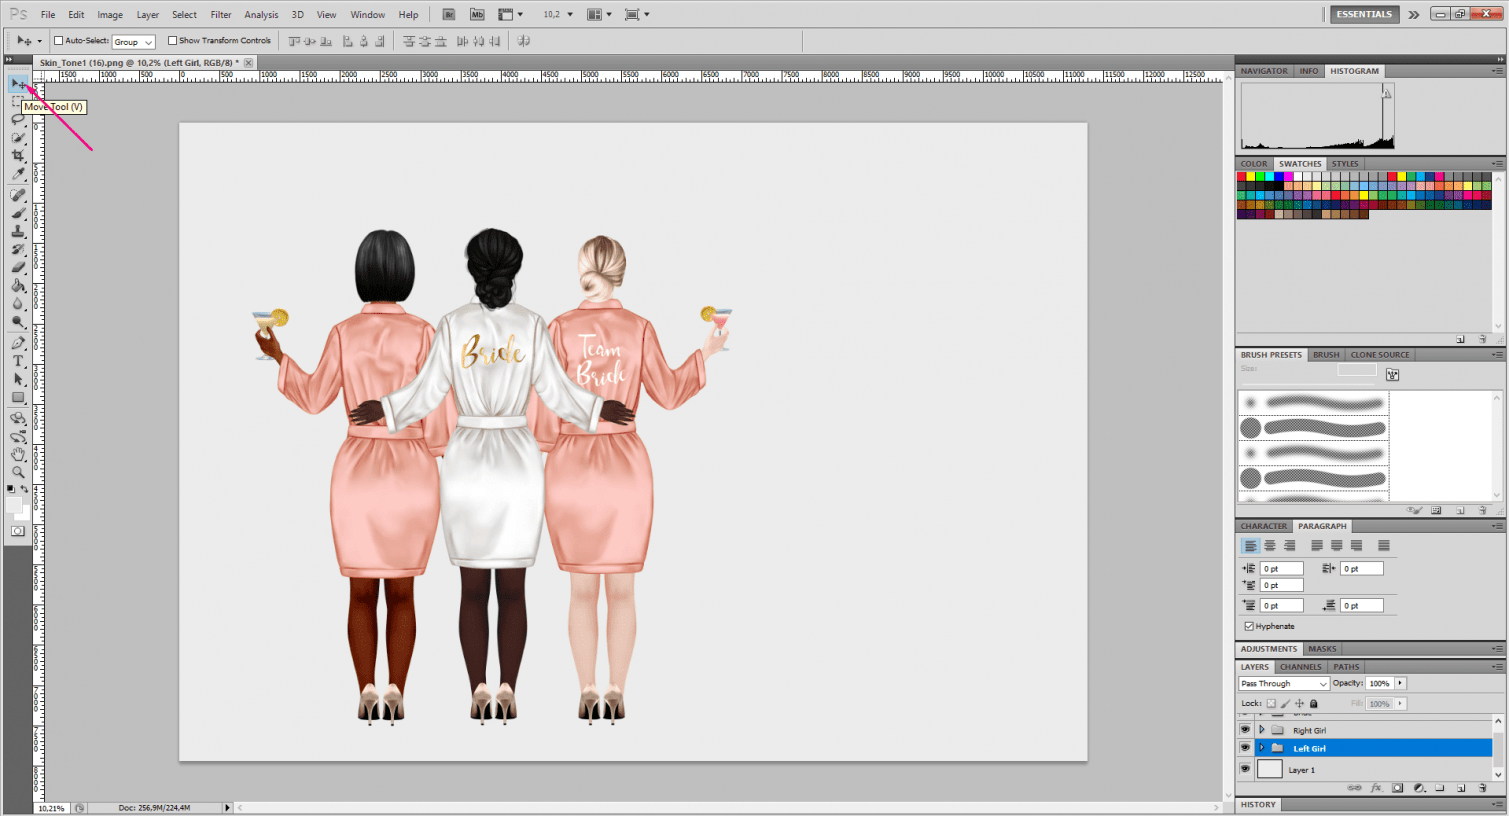
Now I want to add the girl on the left.
I created it just like the first girl and dragged all the layers related to this girl to the group. Don’t be lazy to give names to your groups, it makes the process much easier and in the future you won’t get confused between layers and groups
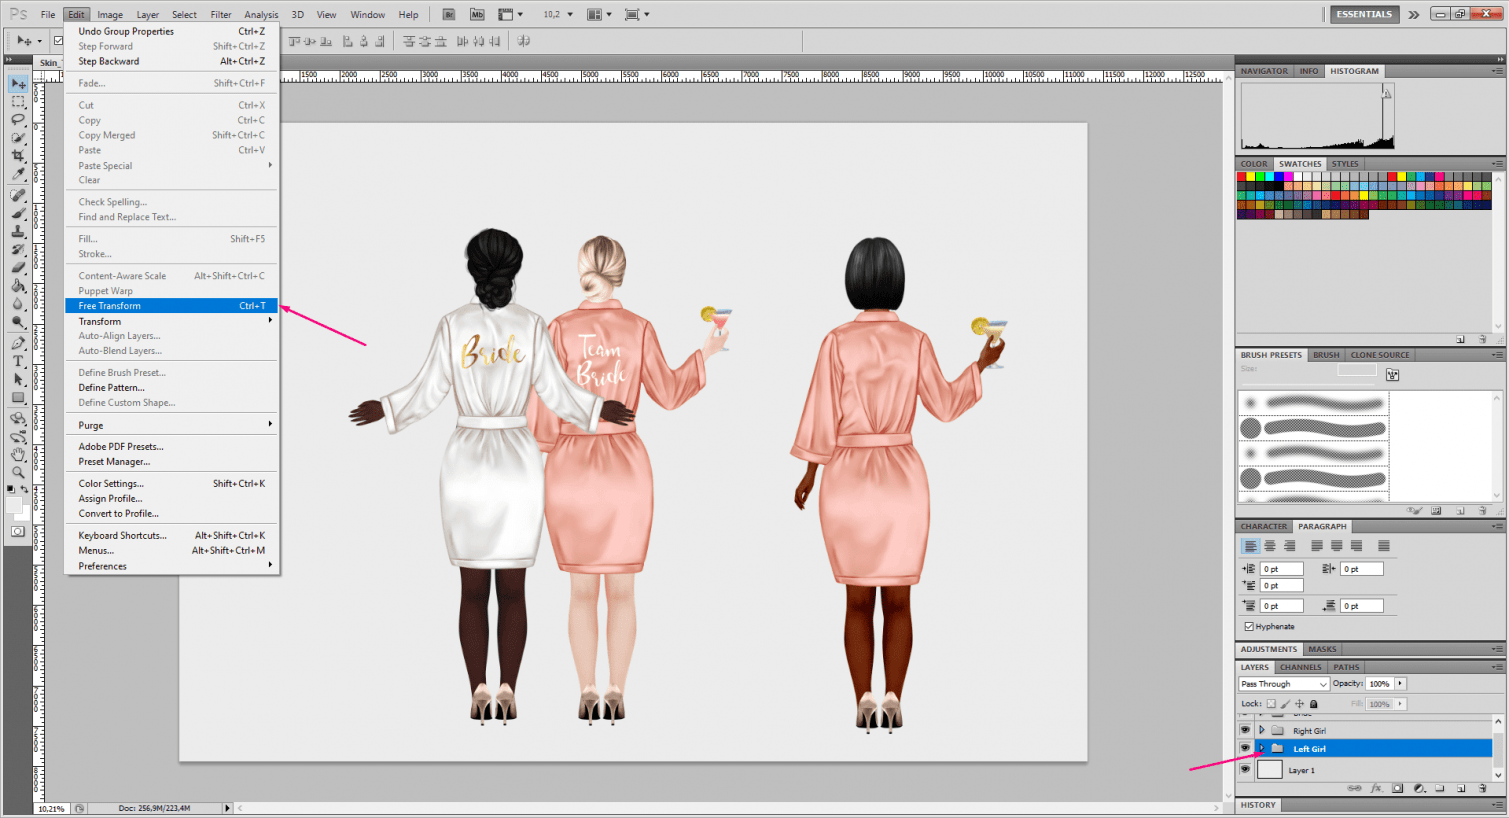
Now I left-click on the group to make it active and select “Edit” – > “Free Transform”
Now I right-click inside the selection and select Flip Horizontal.
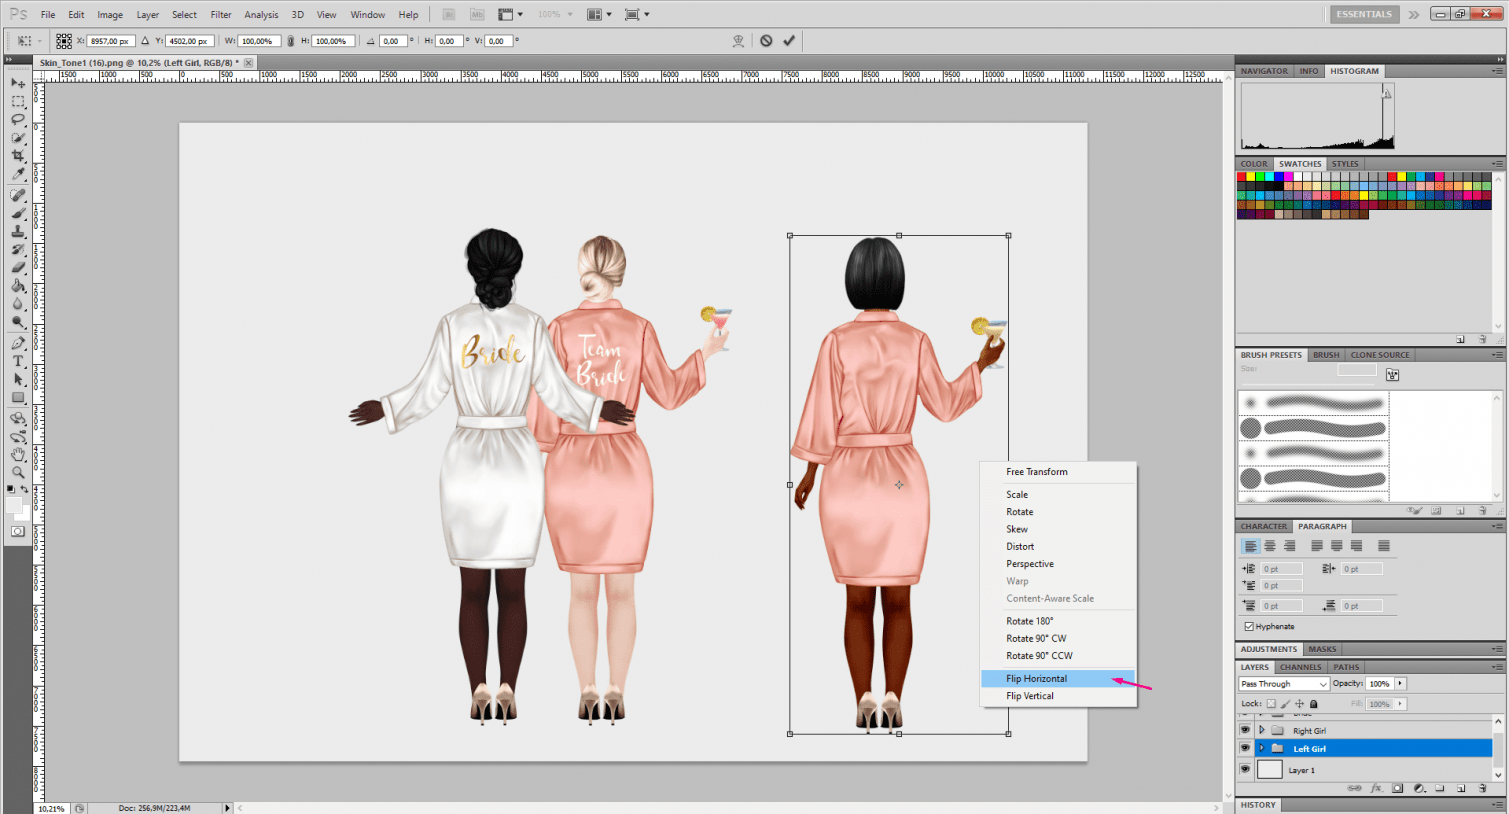
Using the Move Tool, I move the girl to a place.
You can also select all groups at once. Just hold down ctrl and click on the group names to highlight them and then you can move all the girls at once using the Move Tool.
Step 8
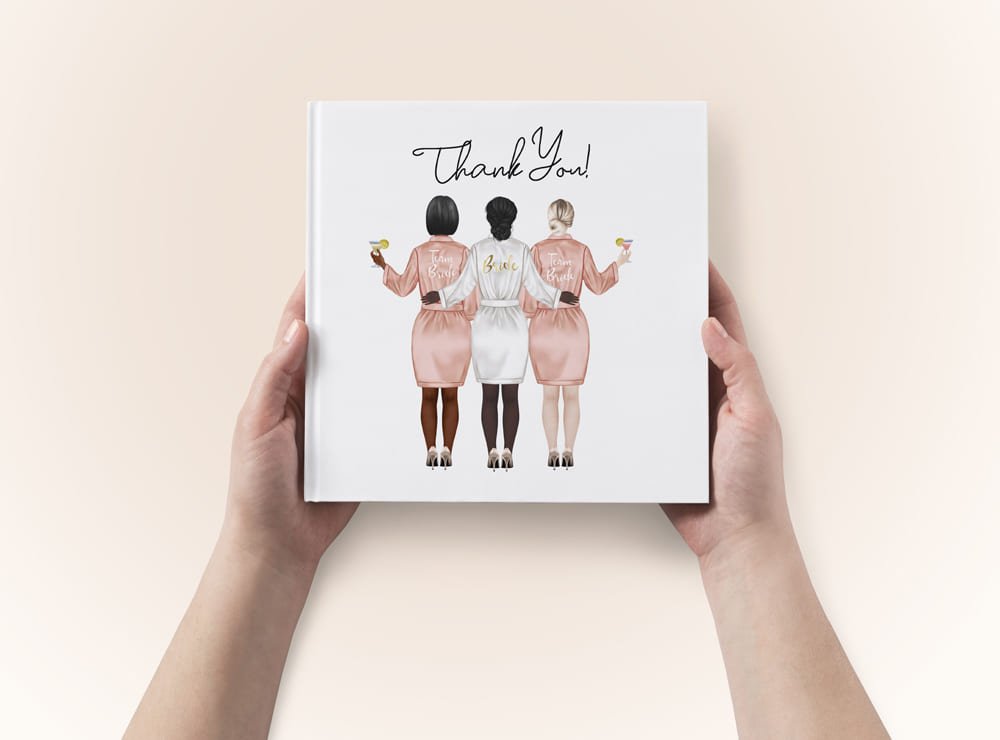
Now just add the background to the lowest layer. For example, the 50 Backgrounds collection has beautiful wedding backgrounds.

That’s it!
I will be adding more lessons and useful tips, so don’t forget to check my blog.
Thank You!
Comments
Post a Comment
You must be logged in to post a comment.
Helen R Panicci
where are you? Why has your store disappeared? You have the best print art and pdf files to purchase
admin
Hello! Thank you very much! I wrote a post with up-to-date information where to find me, you can read here:
https://svetlanakleine.com/recent-changes/